How to install a fibreglass pool, step by step
A fibreglass pool is the most DIY-friendly pool there is, because the hard part is already done in the factory. This is the whole install in order, who does each part, and the mistakes worth avoiding. It is written for owner-builders and anyone buying supply only.
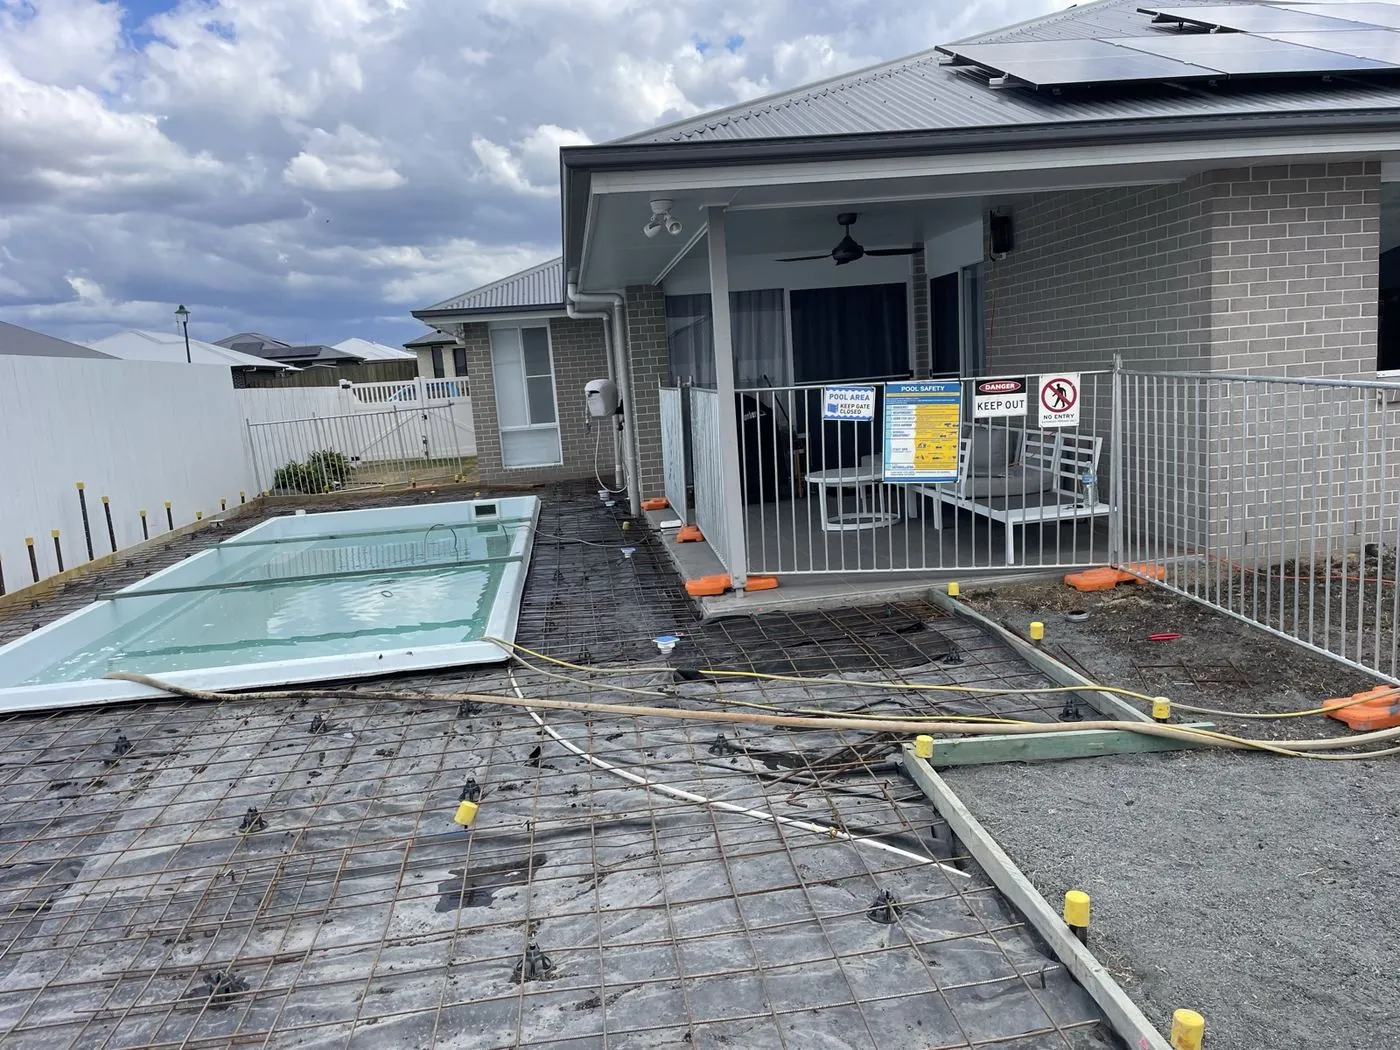
Who you need
You are running the job, so you are booking the people. A typical install uses:
- An excavator operator for the dig and the spoil.
- A licensed plumber for the pipework, the equipment pad and the backwash line.
- A licensed electrician for the circuit to the pad and the light.
- A crane, only if the shell cannot go in off the truck or down the side.
- A concreter for the bond beam, and a paver for the coping.
- A fencer for the barrier, temporary and permanent.
- A private certifier to approve it at the start and sign it off at the end.
Plumbing and electrical must be done by licensed trades, no matter who manages the job. The owner-builder guide covers the permit rules in each state.
The install, step by step
1. Get approval first
Order the free engineering pack before you pay a deposit. It has the shell drawing, the installation details to AS 1839 and your state's compliance certificate: the Certificate of Compliance in NSW (the ACT accepts the NSW certificate), Form 15 in QLD and Reg 126 in VIC. You or your certifier lodge the approval, which in NSW is a complying development certificate for most backyards, usually two to six weeks. Do not dig before it is approved.
2. Set out the pool
Peg the pool out on the ground against the approved plan and the setbacks. Locate underground services through Before You Dig Australia, and check the soil and the water table, because they decide the base and the backfill. Mark where the equipment pad, the fence and the gate will go while you are at it.
3. Dig the hole
The excavator digs to the shell's shape, a little wider and longer than the pool for working room and slightly deeper than the finished floor to leave room for the base. Spoil is trucked away or kept for landscaping. Rock, clay and tight access are what stretch this stage, usually a day or two.
4. Lay a level base
Spread a bed of crusher dust or screened fine crushed rock, compact it and screed it level to the drawings. This is the most important line on the job. A true base means a true pool, and fixing it later is not possible.
5. Deliver and set the shell
The truck arrives and the shell is lifted off with a spreader bar. With about 1.5 m of clear side access it can usually go down the side on its edge. Otherwise it goes over the fence or the house by crane. It is lowered onto the base and checked for level along the coping in both directions, then adjusted until it sits true.
6. Plumb it in
The skimmer box, the two returns and the hydrostatic valve are already built into the shell. A licensed plumber runs the suction and return lines to the equipment pad, fits the pump, filter and chlorinator, and runs the backwash line to a sewer gully, never to stormwater.
7. Backfill as it fills
Water goes into the pool and backfill goes around it at the same time, rising together in stages so the walls are pushed equally from both sides. Use the backfill material the engineering specifies for your ground. A temporary compliant fence goes up as soon as the pool holds water.
8. Pour the bond beam and lay the coping
A steel-reinforced concrete beam is poured around the top of the shell to lock it into the ground. Once it has cured, about a week, the coping and paving go on.
9. Connect the power
A licensed electrician runs a dedicated circuit to the equipment pad and connects the pump, chlorinator and light.
10. Fence, inspect and register
The permanent barrier goes up to AS 1926.1. Your certifier does the final inspection and the pool goes on your state's pool register before anyone swims.
11. Commission the pool
Start the equipment, add the salt and balance the water with the test kit from the handover kit. We talk you through the chlorinator and the filter settings on the phone.
A realistic timeline
- Approval: two to six weeks, with the free engineering pack in hand.
- Shell made to order: about seven weeks heading into summer, generally six to eight, and around six off season.
- Dig and base: a day or two, more in rock or with tight access.
- Set, plumb and backfill: the same week as delivery.
- Bond beam, coping, power, barrier and inspection: another one to two weeks.
Working back from when you want to swim is the useful way to read that list. To swim by Christmas, the order usually needs to be in by the end of October. Our how it works page has the full week by week version.
Common mistakes
- Digging before approval. If the certifier wants the pool moved, you have dug twice.
- Not checking access until delivery day. Measure the side access and look up for powerlines. Our delivery and crane access guide explains what decides it.
- Rushing the base. A base that is out of level shows up in the waterline forever.
- Backfilling around an empty shell. Water and backfill go up together.
- Backwash to stormwater. It goes to a sewer gully.
- No temporary fence. The moment it holds water it needs a barrier.
- Draining it later without advice. Groundwater can push an empty shell up. Ring us before you empty a fibreglass pool for any reason.
What we supply, and what you arrange
| We supply | The shell in any of twelve colours, with the skimmer box, two returns and the hydrostatic valve fitted. The Essentials equipment package. The engineering pack with your state's compliance certificate. Freight to your site. |
| You or your builder arrange | Excavation and spoil, the lift and a crane if needed, bedding and backfill, plumbing and electrical connection, the bond beam, paving, fencing, and council or certifier approval. |
That split is the whole idea of supply only. And you are not on your own: ring us when you are working out sequencing, access or what your certifier wants. Rather not organise the trades? Ask us about installation.
Common questions
Can I install a fibreglass pool myself?
Yes, as an owner-builder in most cases, with a permit above your state's value threshold. Plumbing and electrical must be done by licensed trades and the barrier must be certified. The digging, setting, backfill and general labour are the parts owner-builders usually run themselves.
How long does it take to install a fibreglass pool?
Allow two to six weeks for approval and about seven weeks from order to shell on site heading into summer, generally six to eight. Once the shell arrives, the dig, plumbing, backfill, bond beam, fencing and paving usually take one to three weeks.
What goes under a fibreglass pool?
A compacted bed of crusher dust or screened fine crushed rock, screeded level to the engineering drawings. The base is the most important part of the job, because the shell sits exactly as true as the base under it.
Why does backfill go in while the pool fills?
So the pressure stays even. Water pushes the walls out and backfill pushes them in, and raising both together in stages keeps the shell straight. Backfilling around an empty shell can push the walls in.
What does Hull Pools supply for a DIY install?
The shell in your colour, the equipment package, the engineering pack with your state's compliance certificate, and freight to your site. You or your builder arrange the excavation, crane if needed, plumbing, electrical, bond beam, paving, fencing and approval.
Price the kit for your address
Pick a pool and tell us your suburb. One delivered number for the shell, the equipment, the engineering pack and freight. No obligation.
See my priceOr call Will on 0415 140 001